 Remington Croft
How to Snowboard for Beginners in 2026 (Stance, Stopping and Turning)
Last updated: September 12, 2026 — rechecked beginner progression against maker instruction guides and refreshed gear logic for rental-first learning.
Reviewed by Emily Holmes, General Reviewer, following our test method.
How to snowboard comes down to three skills in order: balanced stance, heel-edge stop, then linked heel-to-toe turns. Rent a soft flat-rocker package, take one beginner lesson, and practice falling leaf on the bunny hill before you touch a chairlift. Don't buy anything yet.
Quick answer: rental flat-rocker package with lesson is best for most first-timers learning to snowboard. Soft-flex own boots is the best first buy for comfort. Strap bindings with zero forward lean is best for control while you link turns. Details below.
Quick Comparison: Beginner Snowboard Gear at a Glance
Match soft and short gear to learning first. Stiff and long gear can wait until you stop catching edges — you'll know the day.
| Method | Key Points | Best For |
|---|---|---|
| Flat-rocker board package | True twin shape, flat to rocker profile, soft flex, length chin to nose | Best overall to learn |
| Soft-flex boots | Soft flex rating, speed lace or Boa, snug heel hold with toe wiggle room | Best comfort upgrade |
| Medium strap bindings | Two-strap, medium-soft flex, zero forward lean, Channel and 4x4 compatible | Best control for beginners |
Dive deeper: Snowboard Stance And Gear Basics; How to Stop On A Snowboard; How to Turn On A Snowboard.
Rent soft beginner boards before buying per Burton. Learn stance, skating, edges, then falling leaf and C-turns per evo. Practice drills on wide bunny terrain with flat runout per Burton instructor progression.
What You Need Before You Learn to Snowboard
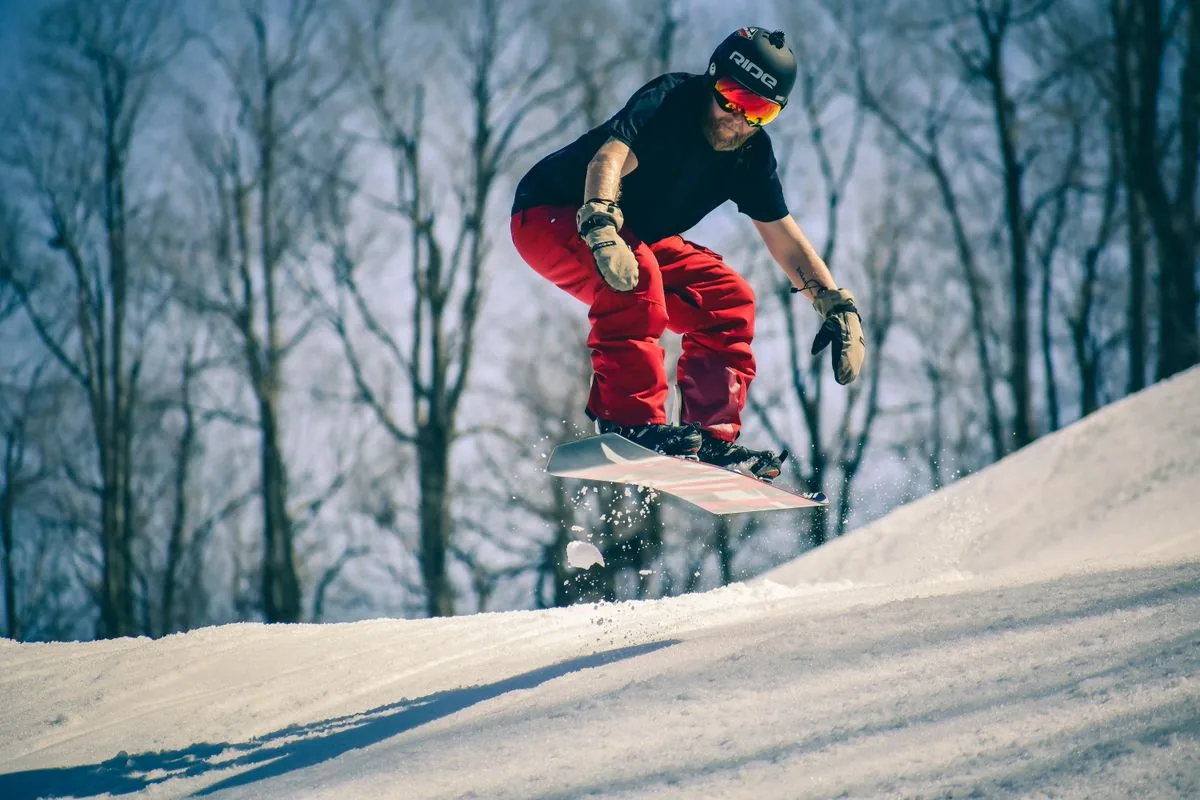
Day-one setup: rental board, soft boots, and a helmet — that's the whole list. (Illustrative stock photo via Pexels.)
You don't need to buy a board to learn how to snowboard. Rent the board, boots, and bindings for your first three days, and own only the soft goods that touch skin and safety: helmet, goggles, waterproof gloves, snow pants, jacket, one synthetic base layer, and wrist guards. Rental fleets are built soft and forgiving for a reason, and the shop will set length and stance for your height and weight.
- Board: true twin, flat or rocker, soft flex. Length between chin and nose when stood on end. Wide version if boots are US 11 or larger to avoid toe drag.
- Boots: softest flex available. Toes brush the end standing straight, pull back slightly when knees bend. Heel must stay down when you lean forward or you lose edge control.
- Bindings: two-strap, medium-soft, zero forward lean to start. Stance width about shoulder width, front foot about positive 15 degrees, back foot about zero.
- Safety: helmet is non-negotiable. Wrist guards and impact shorts save more beginner days than any wax or upgrade.
- Stick with rentals while: you're on day one to three and still falling leafing. Soft rental gear forgives everything.
- Hold off buying if: you can't yet link heel and toe turns both ways. You don't know your preferred flex or size yet.
- Spec to confirm: binding disc versus board mount pattern, Channel versus 4x4. Rental shops match this automatically.
Stance and First Slides: Regular vs Goofy
Learning to snowboard starts with which foot leads. Regular means left foot forward. Goofy means right foot forward. Have someone gently push you from behind on grass: whichever foot steps forward to catch you is usually your lead foot. Handedness has nothing to do with it — and trying both on snow for one run each beats guessing.
Strap in sitting on flat snow with the board perpendicular to the slope. Bump the heel edge into the snow so the board can't slide. Strap the front foot tight first, back foot looser until you stand. Stand with knees bent like sitting in a high chair, back straight, hips over the board, arms quiet over nose and tail. Straight legs are the number one reason beginners slam, because locked knees can't absorb bumps.
- Skate: front foot strapped, back foot pushes like a skateboard. This is how you move on flats and to the lift. Practice braking the skate by dragging the back-foot toe.
- Straight glide: both feet strapped on a 2 to 3 degree slope. Look where you want to go, not down at the board. Keep weight 50-50 until you can glide 30 feet without wobbling.
- Sit to stand drill: from sitting facing downhill, roll to knees, plant hands in snow, pop hips over the toe edge, stand. Repeat five times before edges.
Video: Snowboard Lesson with Tommie Bennett — Tommie Bennett, December 2024.
How to Stop on a Snowboard: Heel Edge First
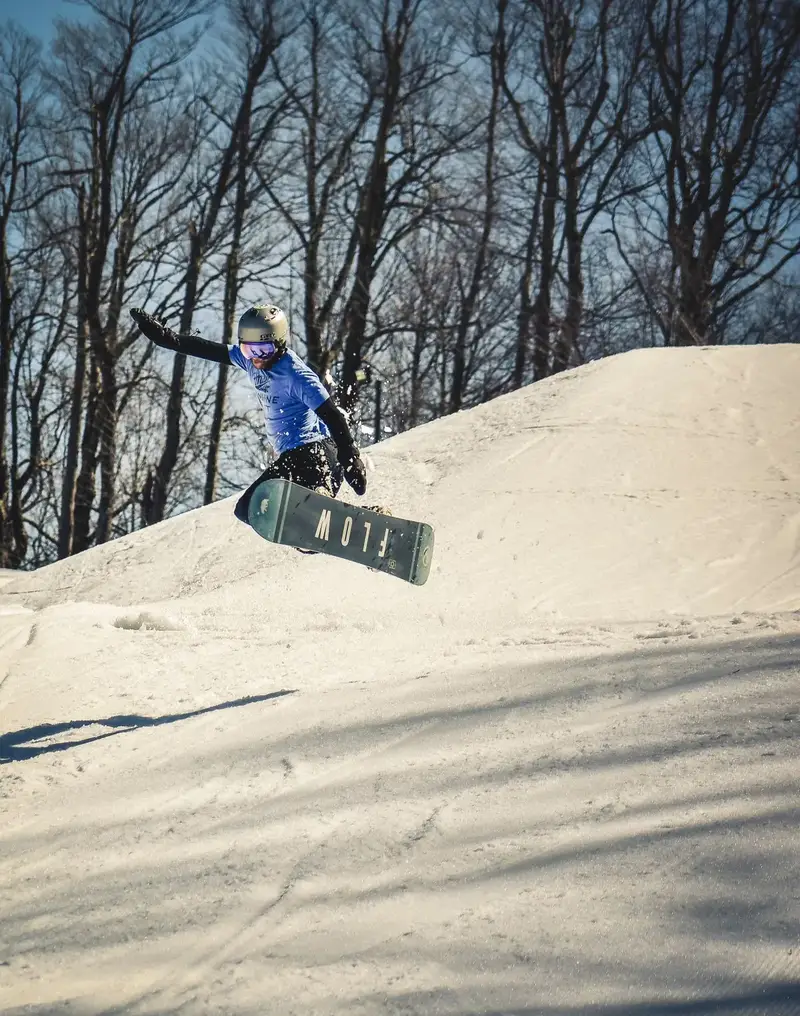
Heel-edge stop in action — that spray means it's working. (Illustrative stock photo via Pexels.)
Don't learn toe edge first. Learn heel-edge falling leaf, then the J-stop that turns uphill to a full stop. Point the board across the hill, never straight downhill. Dig your heels in to slow, flatten slightly to drift, dig again to stop. Traverse left, stop, traverse right, stop — like a falling leaf. You control speed with edge angle, not by leaning uphill.
- Heel slide: facing downhill from sitting, stand on heels with toes up. Feather edge angle to slide or grip. This is your emergency brake all season.
- Falling leaf: traverse across on heels, flatten for two counts to drift forward, re-engage heels. Same track back the other way.
- J-turn stop: glide across, slowly turn the nose uphill, sink to heels, stop. Learn both directions before linking turns.
- You're ready when: you can traverse 20 feet each way without gaining speed. Time to finish turns uphill.
- Skip speed if: you point downhill to force a turn. Speed hides weak edge control and causes the classic toe-edge slam.
How to Turn: From Falling Leaf to Linked S-Turns
Turns are weight shifts, not kicks. To go from heel edge to toe edge, flatten the board for one count, shift hips over the toe edge, press shins into boot tongues, and look across the hill where you want to finish. The board follows eyes and hips. Throwing a shoulder or swinging arms twists you off balance and drops you on your face.
- C-turns: one heel C to a full stop. One toe C to a full stop. Master each direction separately before linking.
- S-turns: heel C flows into toe C without stopping. Count one-two-three per edge to keep speed even.
- Finish across the hill: every turn should end with the board pointing across the slope. Half-finished turns that still point downhill accelerate you into the next turn too fast.
- Toe-side unlock: most riders learn heels fast because leaning back feels safe. Toes feel exposed facing uphill. Commit hips forward over toes and the fear drops in one session.
How to Ride the Lift Without Falling
Chairlifts scare beginners more than turning, because you ride with one foot out. Unstrap your back foot in line. Skate with your front foot strapped to the chair, back foot pushing. Sit fully back with your back against the chair, board straight ahead, back foot resting on the stomp pad. At the top, wait until the board touches snow, stand tall, push gently with the back foot, and glide straight to clear the ramp. Don't try to turn until you're past the unload crowd — that's where the audience is, and you don't need one.
- Lift-ready check: skate 50 feet and heel-stop from a glide without sitting down. If you can do that, you are ready for the bunny lift.
- Look at the exit: looking down at the board on the ramp steers you into the ground. Look at the clear path ahead.
- Small hills first: stick to bunny terrain that is wide and visible from the bottom. Long narrow green runs from the summit are worse for practice because they add traffic and flat spots.
Mistakes That Cause Most Beginner Wipeouts
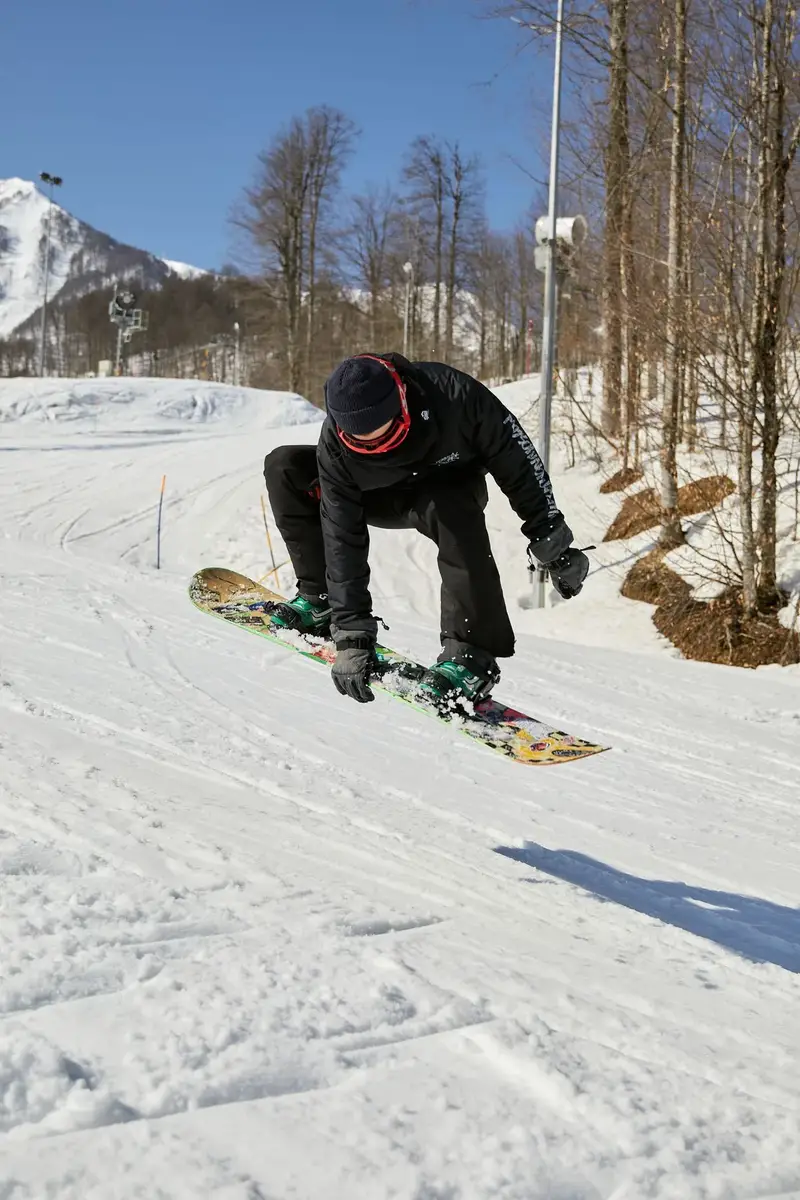
Linked turns starting to flow — this is the moment it clicks. (Illustrative stock photo via Pexels.)
Top guides tell you what to do and skip why you keep falling. After comparing maker drills and rider forums, these five patterns cover most day-one slams:
- Leaning uphill: weight on the downhill edge guarantees a catch. Keep hips over the board with about 60 percent weight on the front foot to start turns.
- Straight legs: no suspension means every bump throws you. Stay bent all run, hands over nose and tail.
- Flattening too long downhill: on heel traverses, dropping the edge fully flat while pointing downhill lets the toe edge grab. Keep slight heel pressure until you mean to turn.
- Shoulder throw: swinging the upper body to force a toe turn twists hips late and slams you forward. Steer quiet with feet and hips.
- Wrong slope and ice: steep or scraped greens add speed you can't manage. Stay on soft bunny pitch until S-turns feel boring, then move up one lift.
How to Choose Beginner Gear Without Overspending
- Length: chin to nose for learning. Shorter turns easier, longer rides more stable but harder to pivot.
- Profile: flat or rocker to learn, hybrid after season one, camber only when you carve with confidence.
- Flex: soft board with soft boots. Stiff setups punish late weight shifts that every beginner makes.
- Boots first: if you buy one thing after rentals, buy boots that fit. Packed-out rental boots cause heel lift, toe bang, and calf pain.
- Rent math: rent days one to three. Buy a used beginner package only once you link turns both ways and know stance width and angles.
Setup Tips to Progress Faster
Set stance width to about shoulder width, front positive 15 degrees, back zero to start. Keep zero forward lean on highbacks for week one — your heel-to-toe transitions will thank you. Wax every three to four days, because dry bases feel sticky on flats and leave you unstrapping to walk. Tighten boots tighter than feels comfortable in the shop; liners pack out about half a size. Carry a pocket tool because binding screws love loosening on day one. Warm up ankles and hips for five minutes — cold ankles can't flex into toe turns.
Beginner Snowboarding FAQ
How long does it take to learn to snowboard?
Most adults ride the bunny lift on day one, link heel and toe C-turns by day two or three with a lesson, and link smooth S-turns on greens by day three to five. Book a two-day lesson block rather than one hour for faster linking.
Is snowboarding harder than skiing?
Snowboarding is harder on day one and easier by week two. Skiing lets you walk on day one but takes longer to parallel. Snowboarding falls hurt more early, then progression jumps once edge catches stop.
How do you stop on a snowboard?
Turn uphill on your heel edge and sink into your heels. Learn traversing heel stops first, then J-turns both directions, then link them into S-turns. Don't touch toe stops until heel stops feel automatic — impatience here is how helmets earn their keep.
Are snowboard lessons worth it?
Yes for day one. One group lesson fixes stance, skating, and heel stops faster than three solo days and prevents the lean-back habit that causes most wrist injuries. After you link turns, video review helps more than extra beginner lessons.
What should I wear snowboarding as a beginner?
Helmet, goggles, waterproof gloves, snow pants and jacket, long socks, wrist guards, and a synthetic base layer with zero cotton. You'll sit in snow a lot on day one, so waterproof beats warmth every time.
Bottom Line
Learn on flat-rocker rental packages for forgiveness, own soft boots that lock your heel for comfort, and ride medium strap bindings with zero lean until S-turns feel easy. Stance, heel stop, linked turns — in that order, and you'll be grinning by day three.
Related Guides
- Snowboard Stance And Gear Basics
- How To Stop On A Snowboard
- How To Turn On A Snowboard
- Snowboard Catching Edge Fixes
- Lift Etiquette For Beginner Snowboarders
- Ski Vs Snowboard For Beginners
- How To Wax A Snowboard
- Snowboard Lesson And Rental Cost
- 4 Best Leather Laptop Bags for Work in 2026
- 6 Best Oatmeal Slim Laptop Bags for Work and Travel in 2026
- Solo Sustainable Re:cycled Collection Laptop Bag Review in 2026
- How To Sew A Button
Sources: Burton — Learn to Snowboard; evo — Beginner Snowboarding Tips; YouTube — Snowboard Lesson with Tommie Bennett; Photos: Pexels 3888007, 3888002, 7406799.